


Mani Pittu belongs to the Pittu Family but it’s definitely a much different process making the dough and it is truly challenging if it’s your first time.But if you enjoy it as much as we do, it’s definitely worth the hurdle !!!
This Step by Step Recipe is for Beginners and was specially requested by a follower : So this one’s for her ?
Ingredients
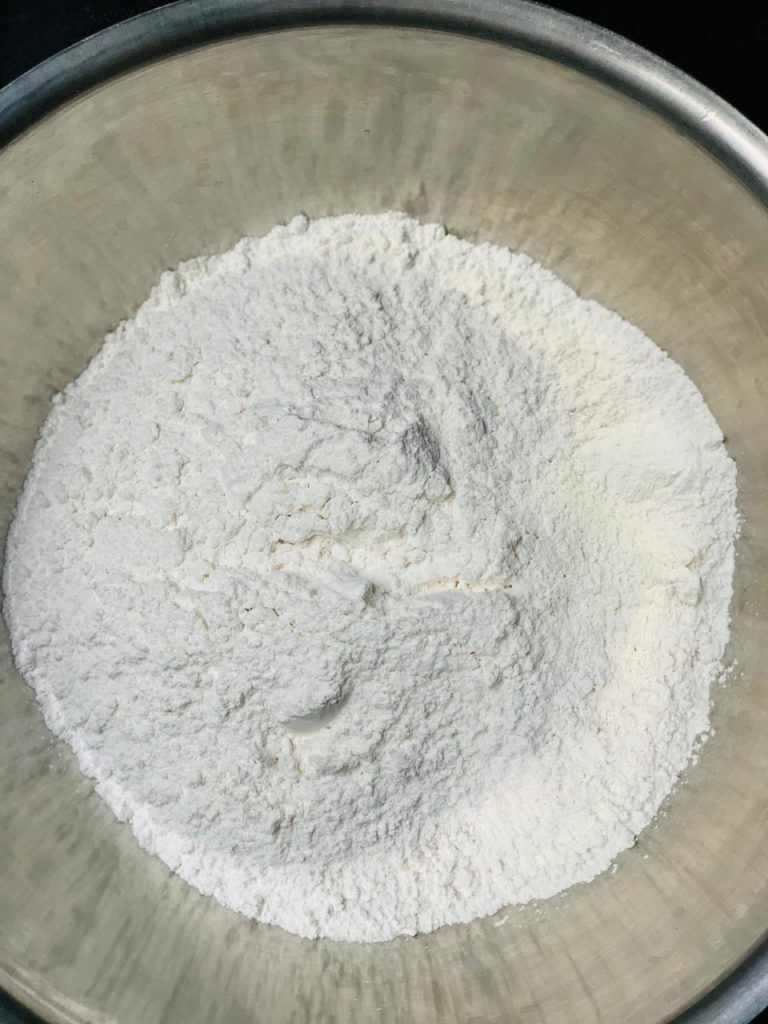
- 1 kg White or Red Roasted Rice Flour Sifted (Store Bought or Home Made : Choice is yours)
- Boiling Water approximately 5 cups or according to what you may need.This depends on the kind of flour you use so do not pour everything at once, do it gradually and if needed use more
- Pinch of salt into the boiling water
Some Tips I Learnt For Best Results
Heat the water close to boiling temperature do not let it come to a roaring boil ,this will cause the mani pittu will harden
Sift the flour twice just to make sure there are no lumps
If you’re buying the Roasted Rice Flour from the stores, Use the brand of flour that you are familiar with : I have tried most of them available in Srilanka and they all work fine for me.These days “Top Tasty” has been easy to find so I have been using that
- MDK
- OGM
- CHALLENGE
- TOP TASTY
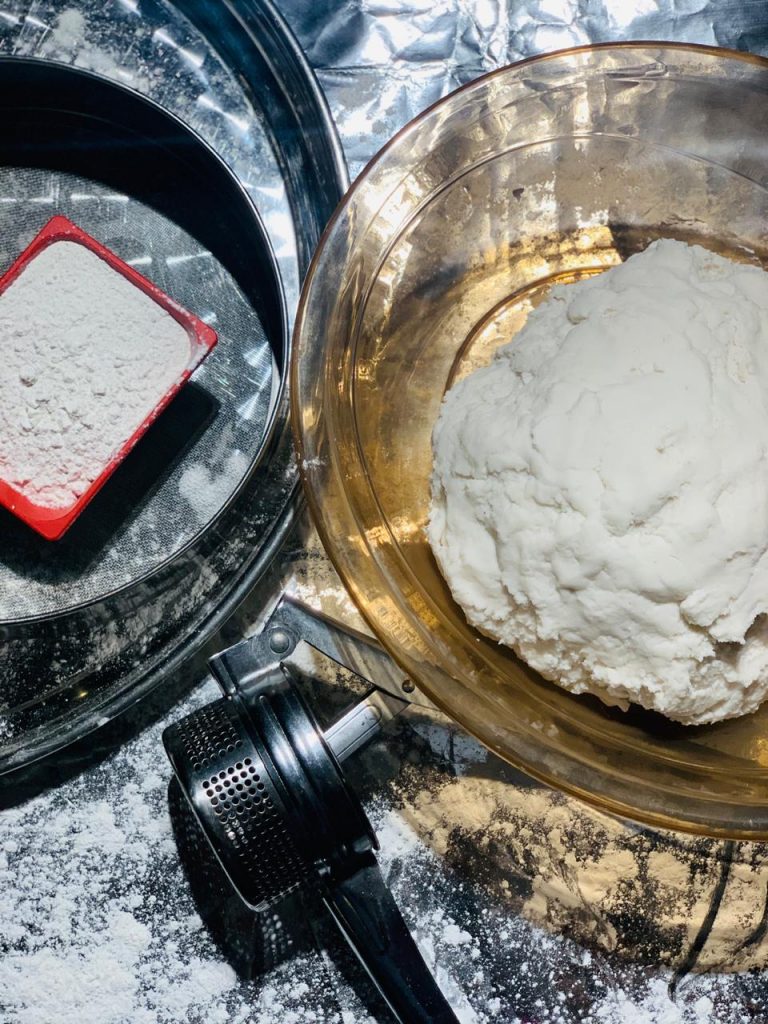
Keep everything ready before you start because this has to happen quickly otherwise your dough will harden and you will not get best results.
Make sure you have a floured work surface or large board ready to start making the mani pittu as soon as you make the dough.
To make the mani pittu mixture you can use the murukku mould or you could use a potato masher like what I used
A large seive to remove excess flour
Large platter to spread all the mani pittu mixture before steaming
You will also need a wooden spoon for stirring
Let’s Get Started
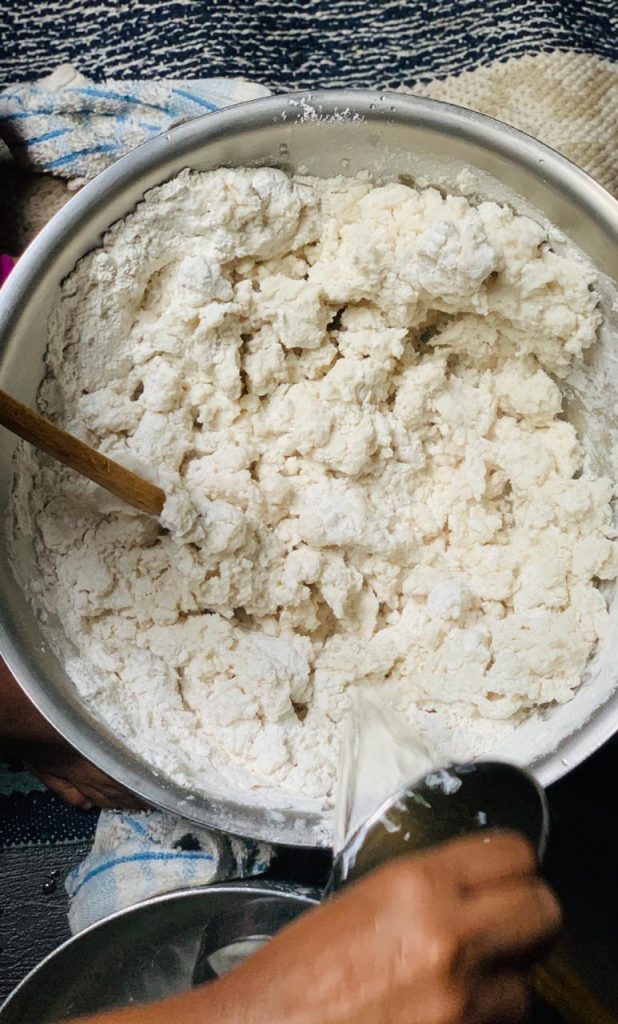
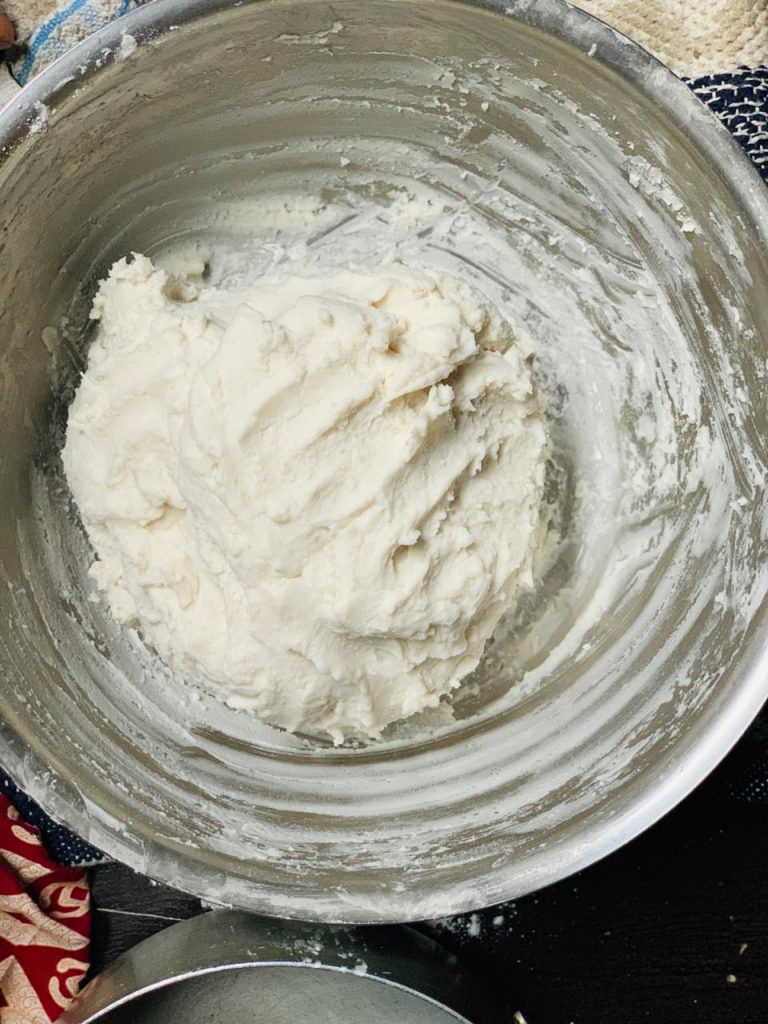
Place the sifted flour in a bowl and keep the almost hot water next to you
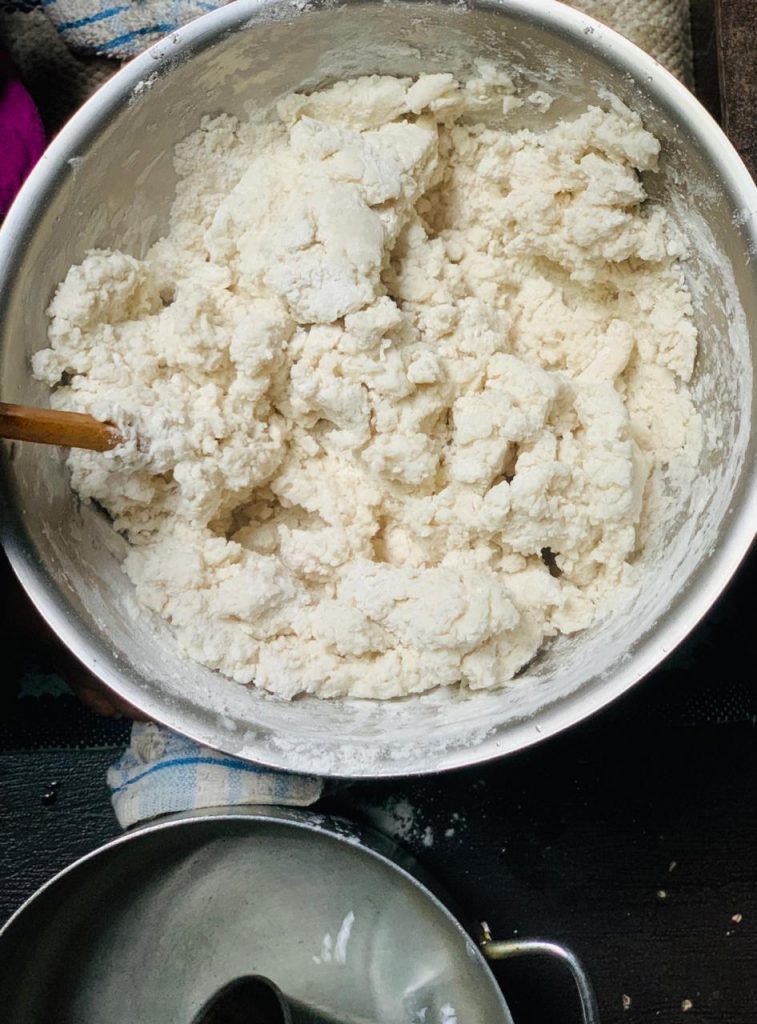
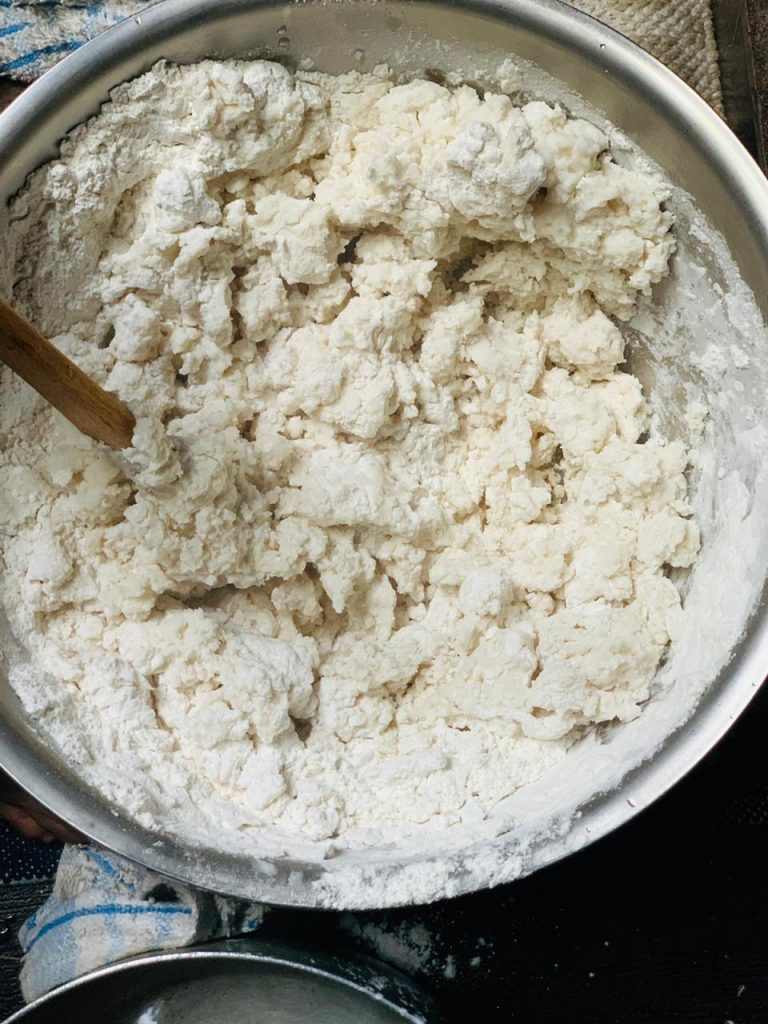
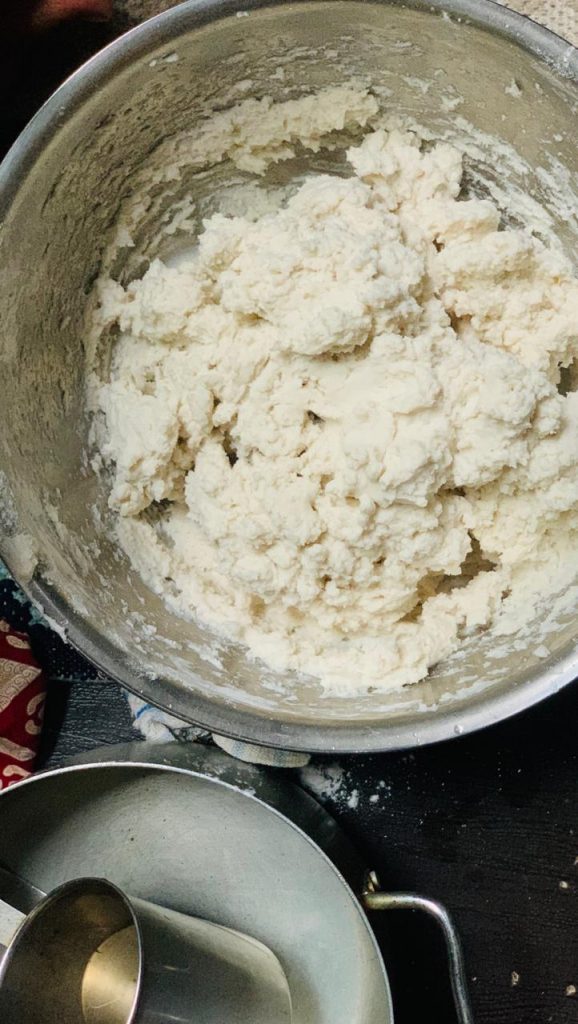
Gradually pour in the hot water and keep stirring it around with the wooden spoon and form into a soft & sticky but manageable dough.
Watch the video to see how I got my helper to do it for me because I couldn’t do it while recording with one hand ? Use little less water than you would use for the string hopper dough…semi hard consistency
Check out my Instagram Post for Demo Videos on each step
Follow Link Below
https://www.instagram.com/p/CHyUaVoBl6k/?igshid=e3hthvb3mpmo
https://www.instagram.com/p/CHyS9YqBTdP/?igshid=150ez0phcyroi
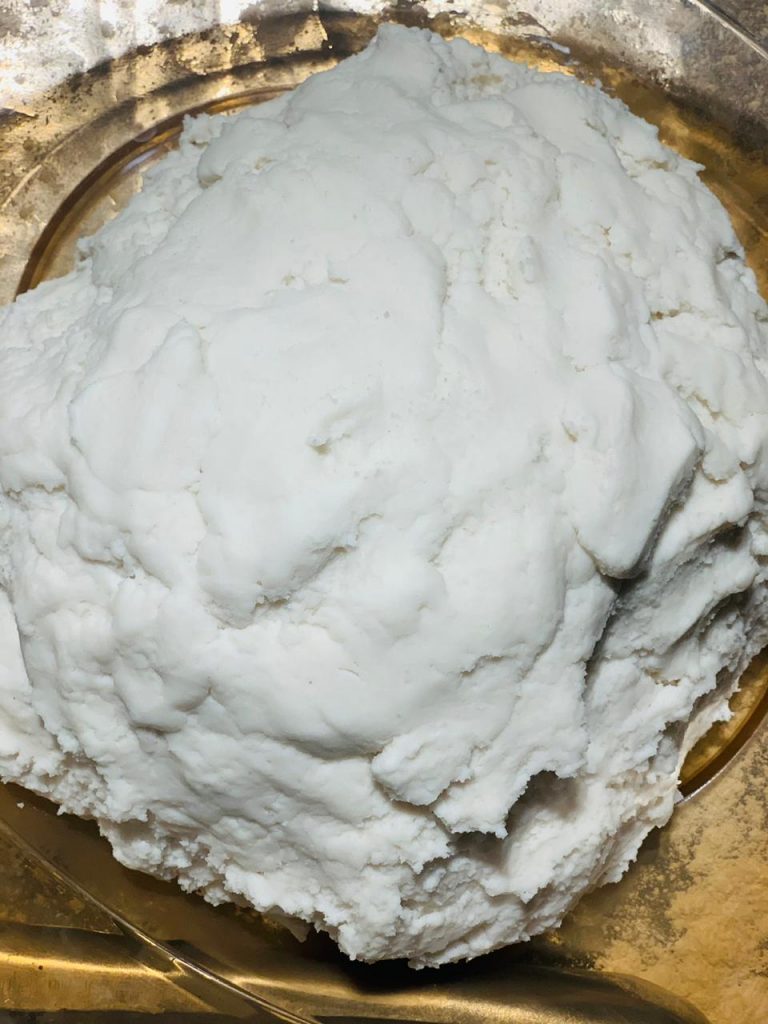
Do not let this dough dry out
Now let’s get to the floured work station and start making the mani pittu scatters
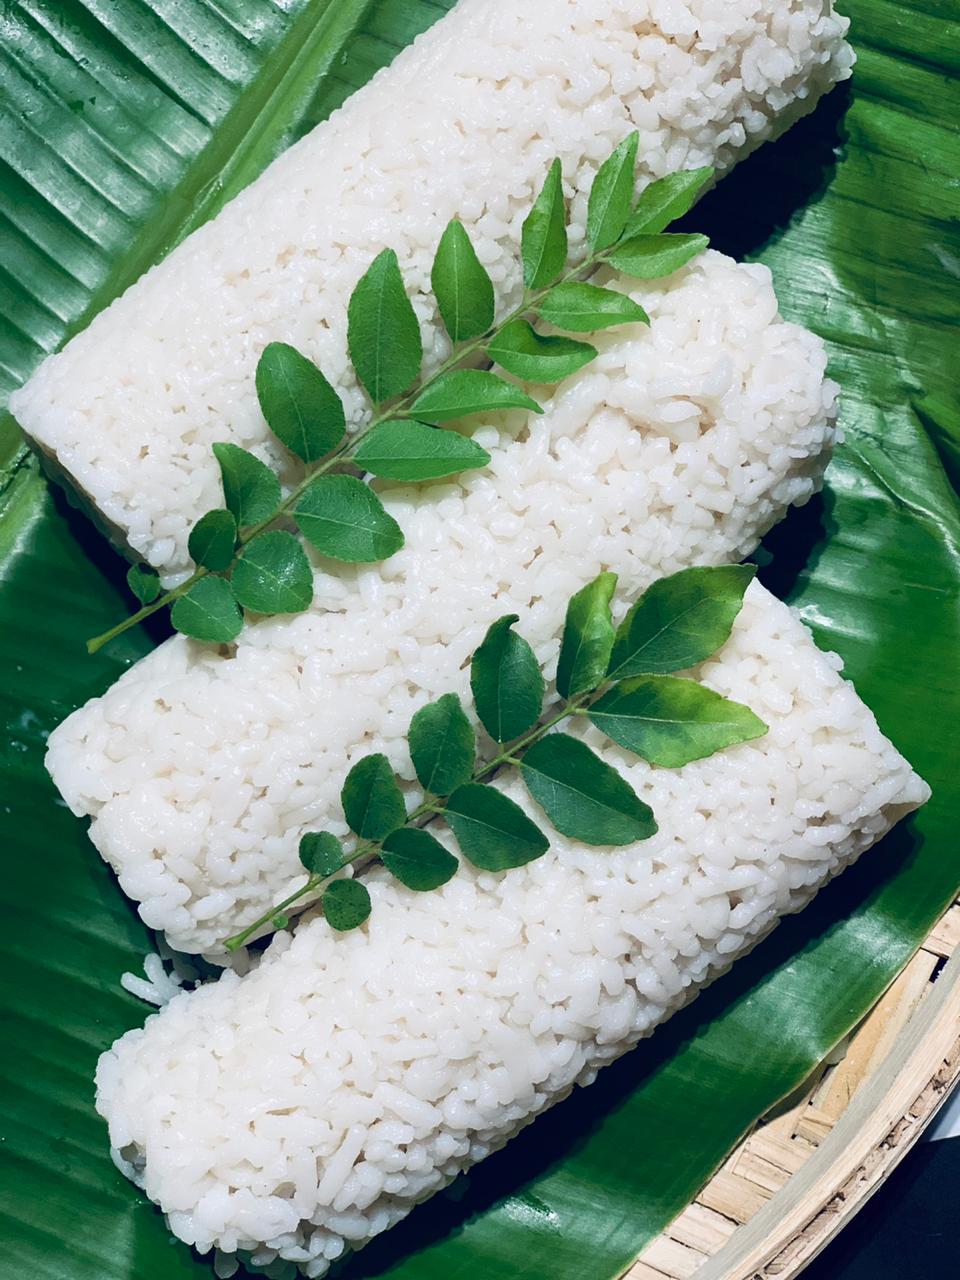
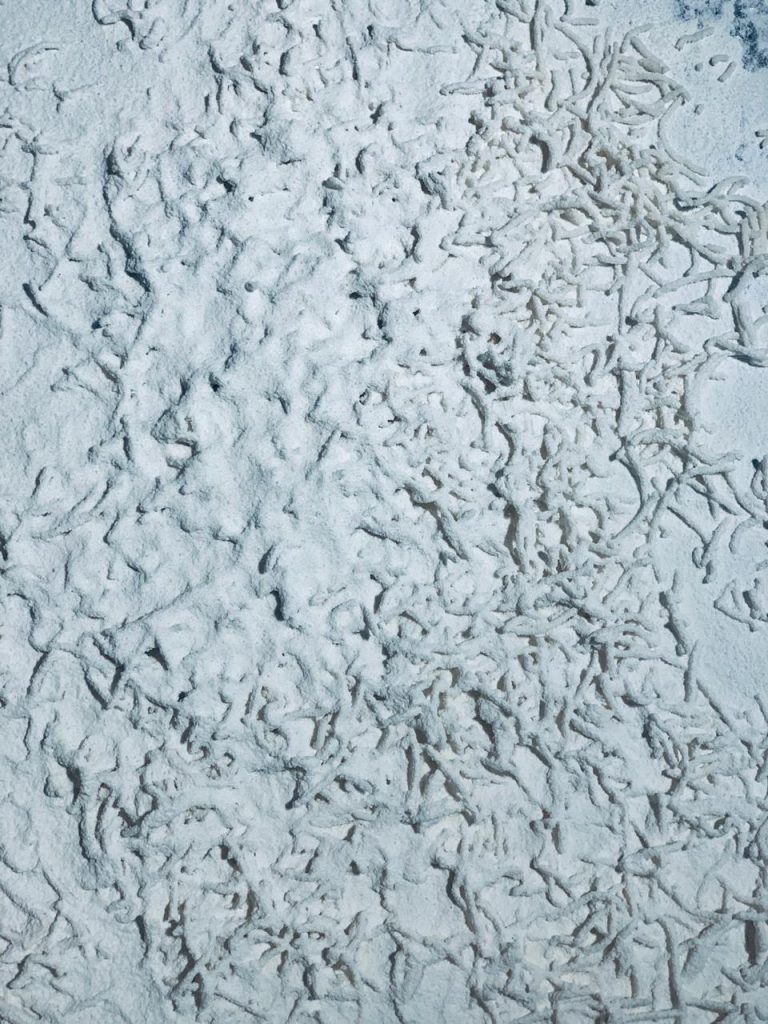
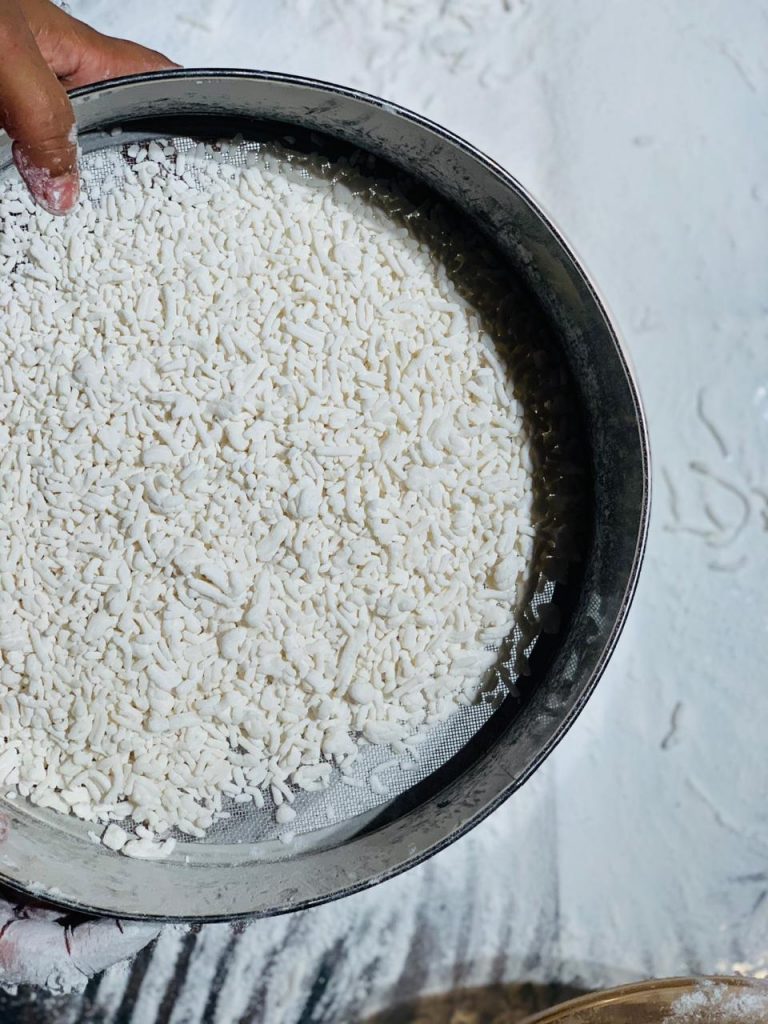
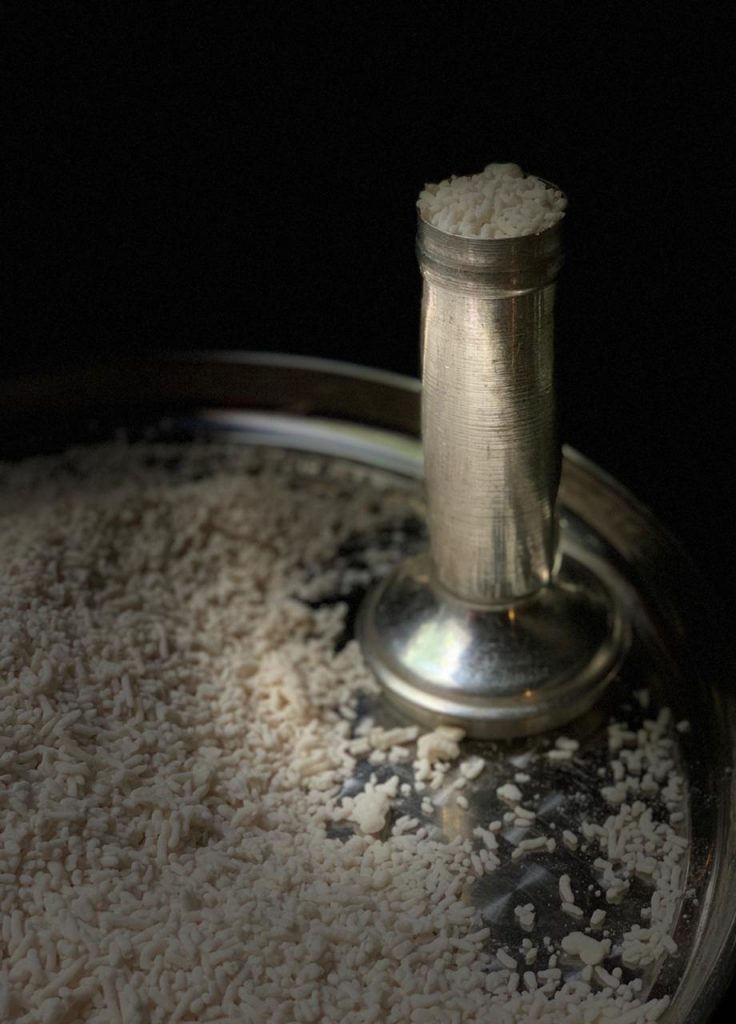
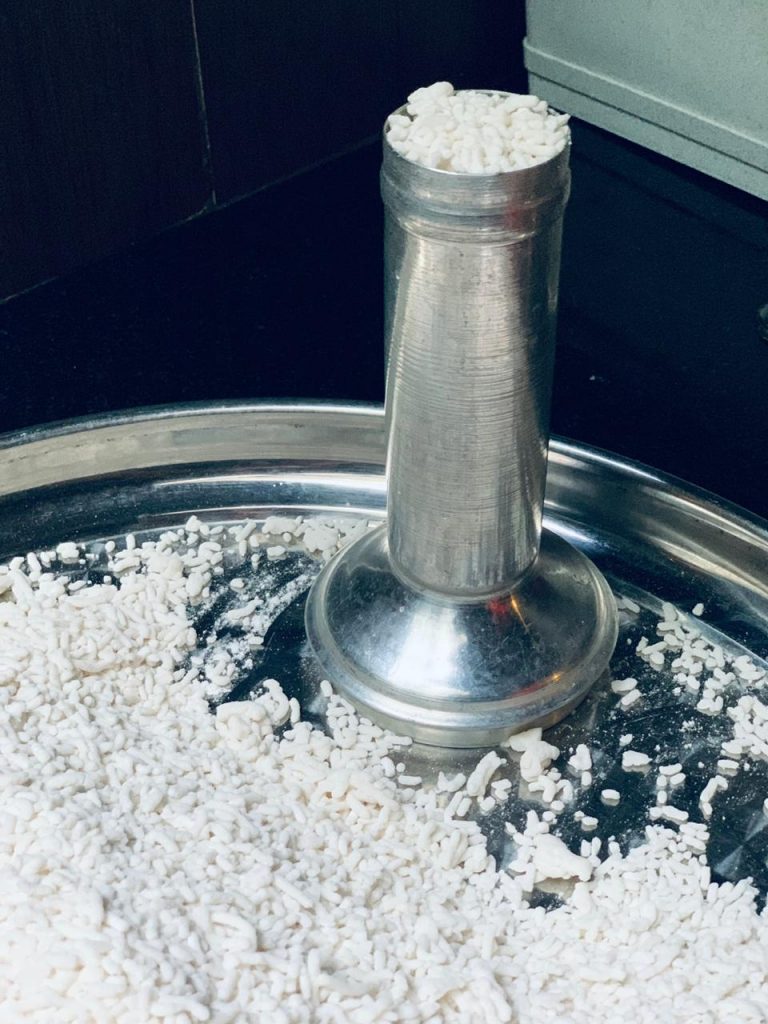
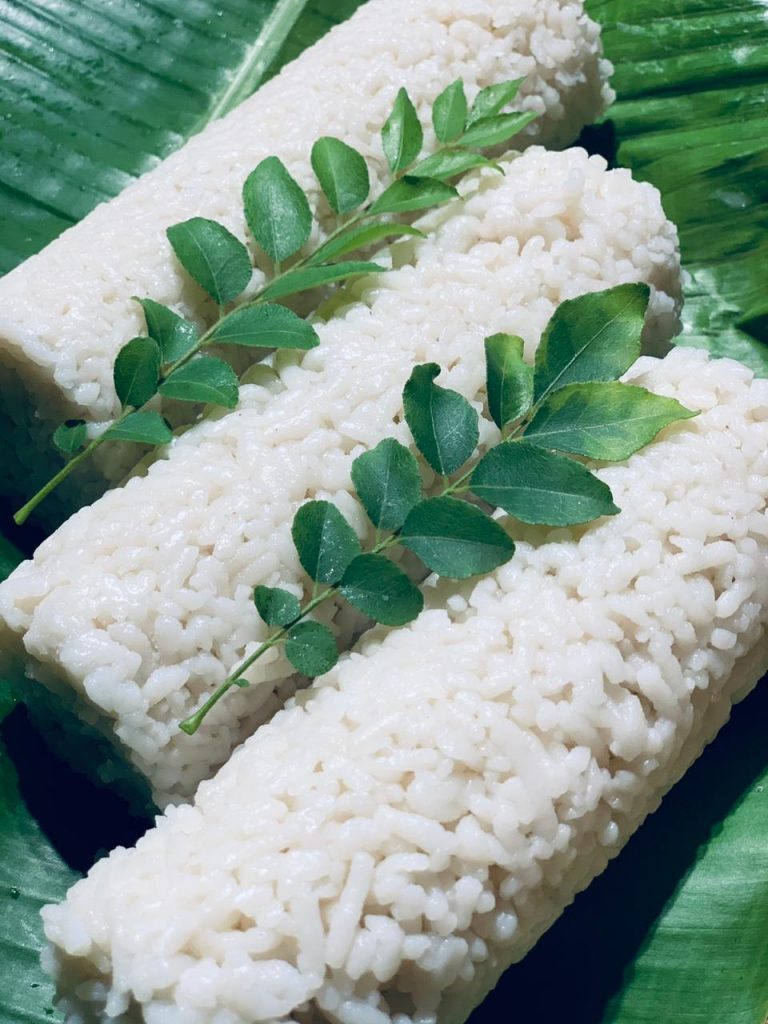
The image below shows the Mani Pittu Mixture
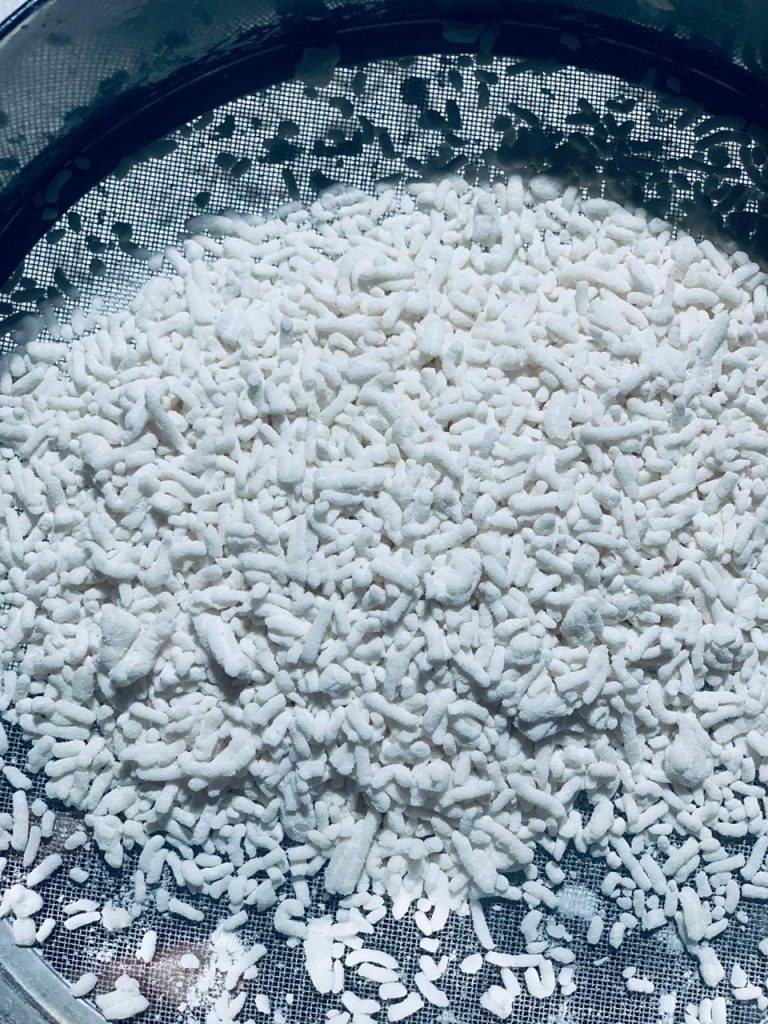
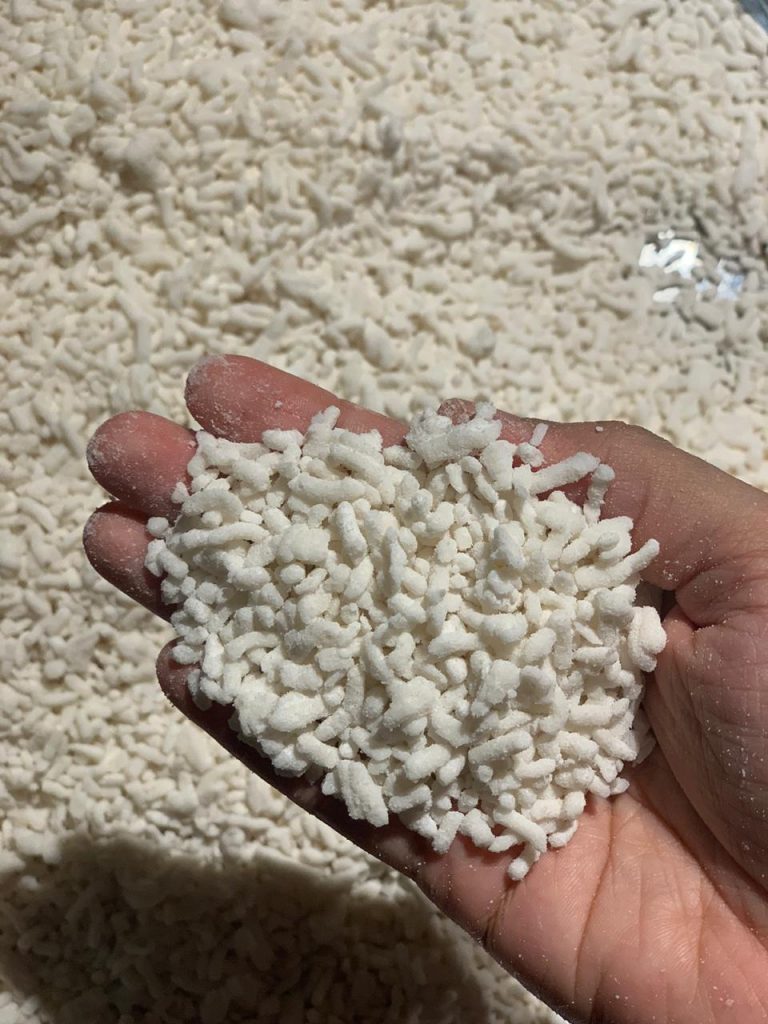
These resemble long thick broken noodlish scatters
Check this out
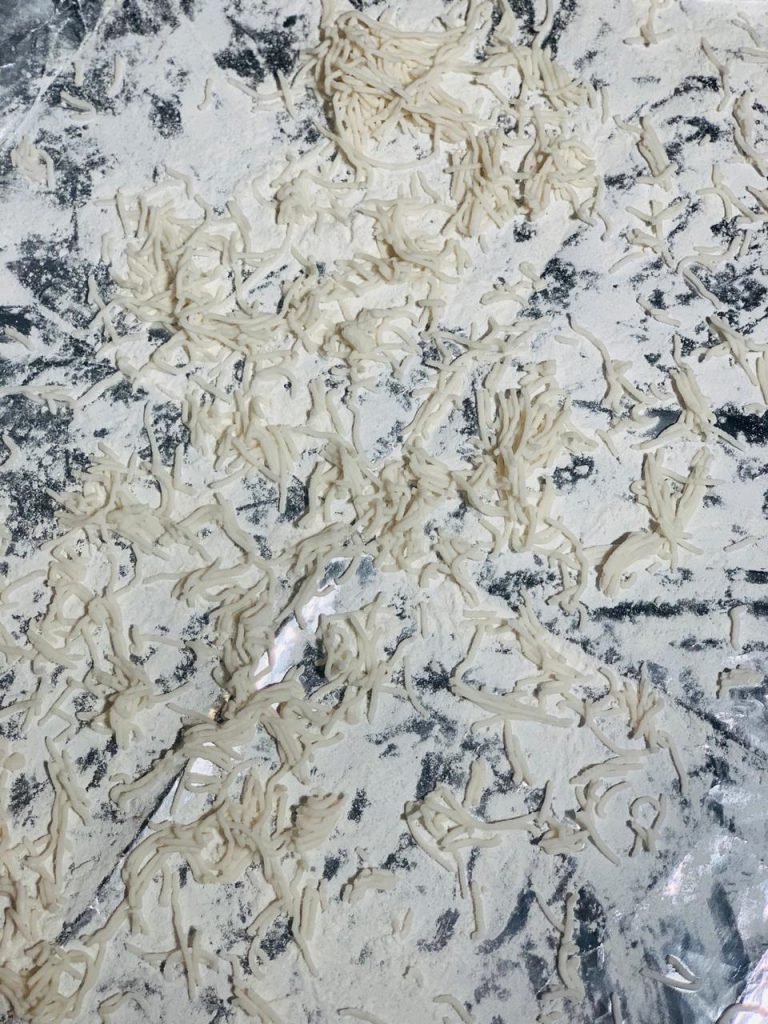
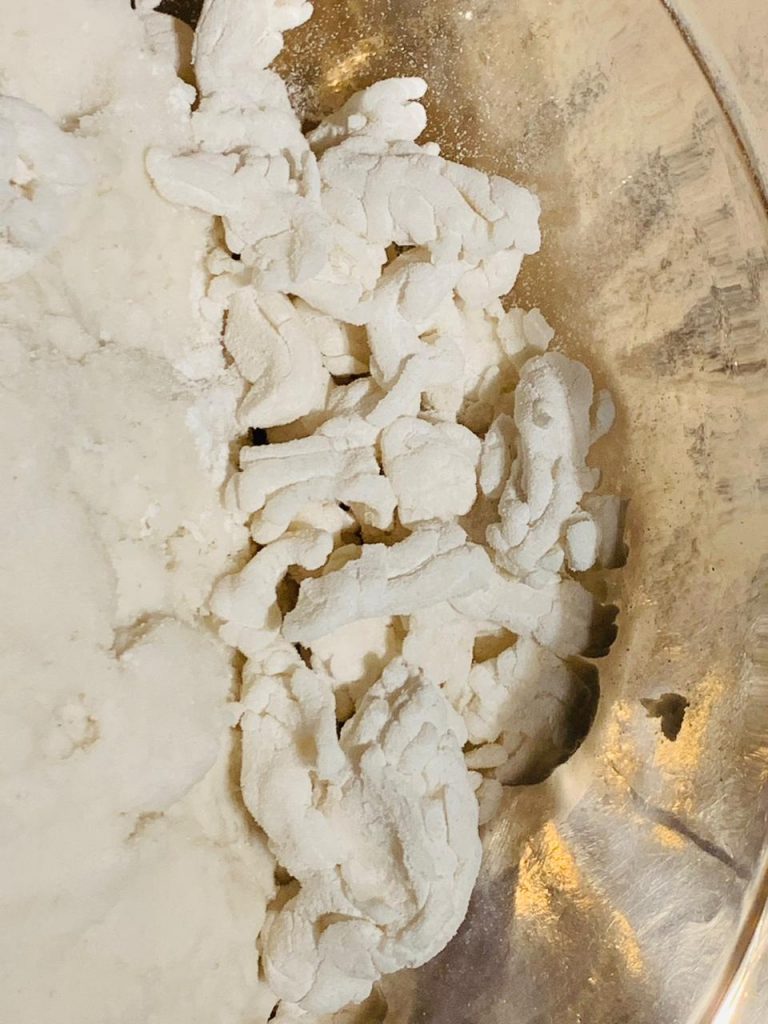
Make dough balls and Press through the mould and scatter over the flour surface like so to avoid sticking.You could even use a kitchen scissors or knife and cut them through…
Rub more flour over the thick scattered “broken noodle”using your hands because this dough is still sticky and it may need more flouring to stay without forming into clumps
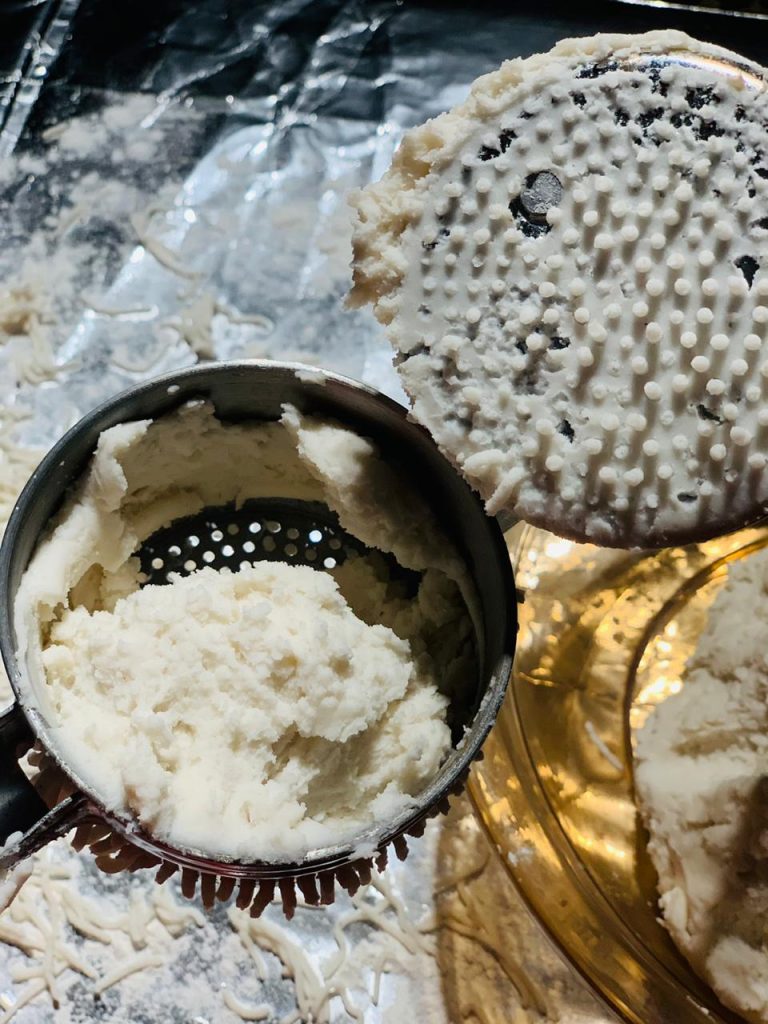
Now transfer this into a large sieve and move it around to get rid of excess flour and this helps break the larger pieces into perfect sized one
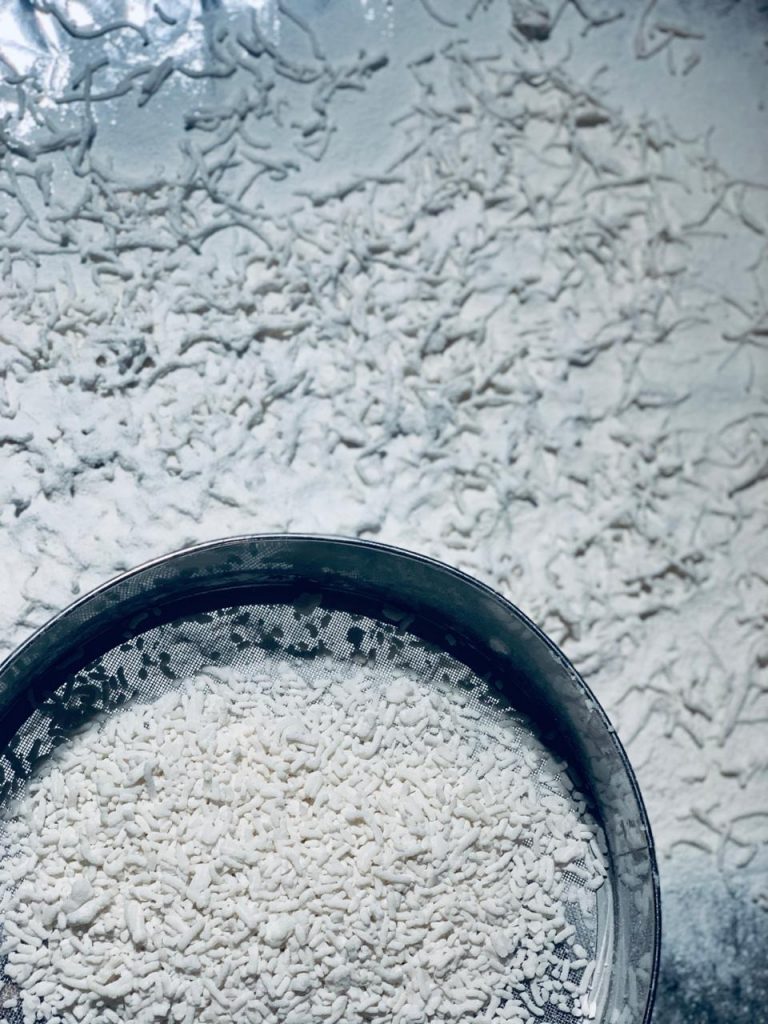
You can remove the very large pieces and put them back into the dough for being pressed out again
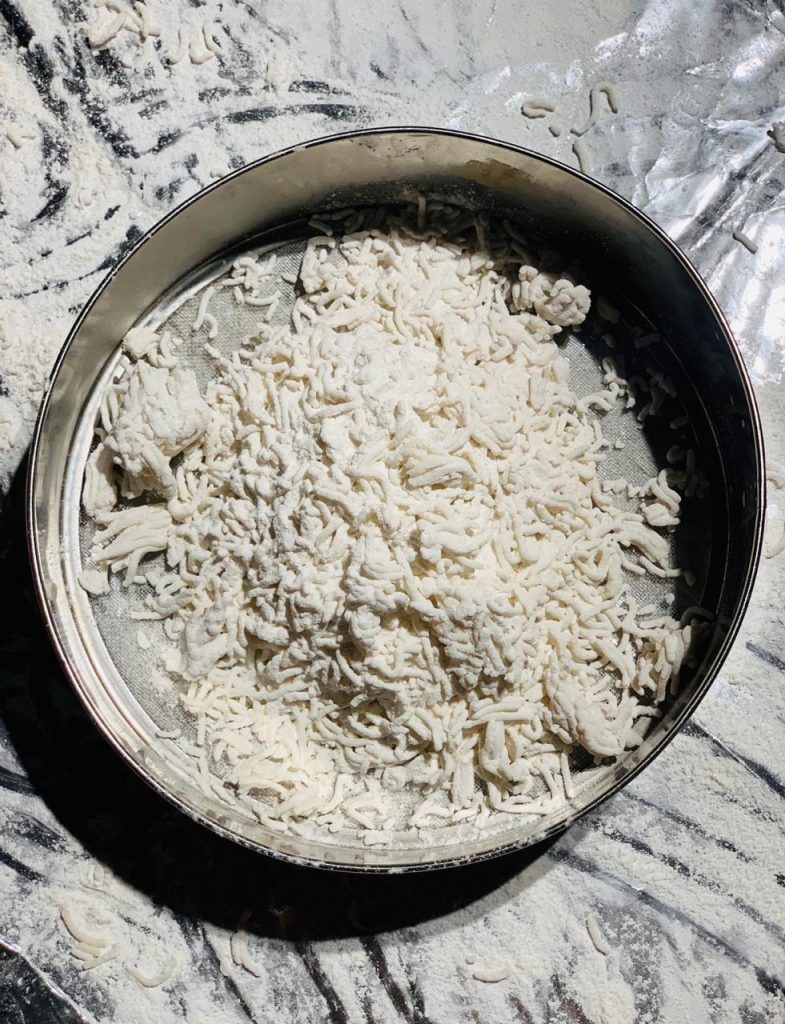
Move them to a large flat platter till you are done with everything
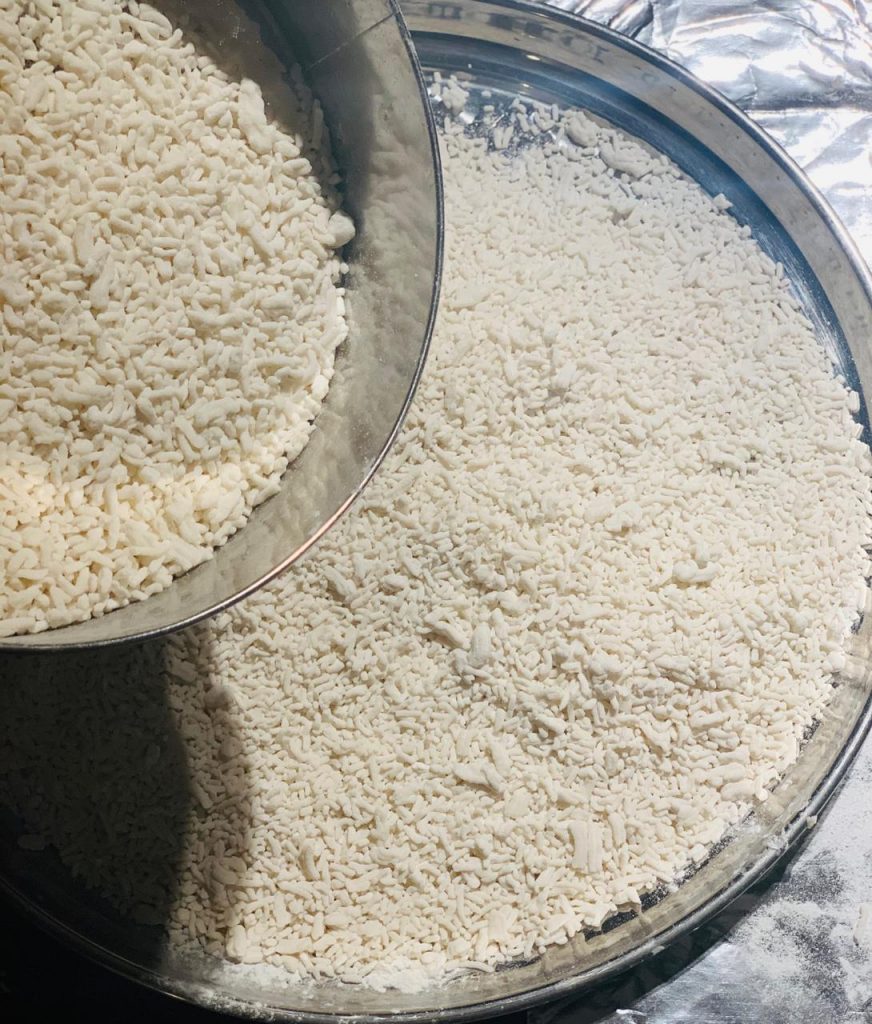
Continue till the dough is over

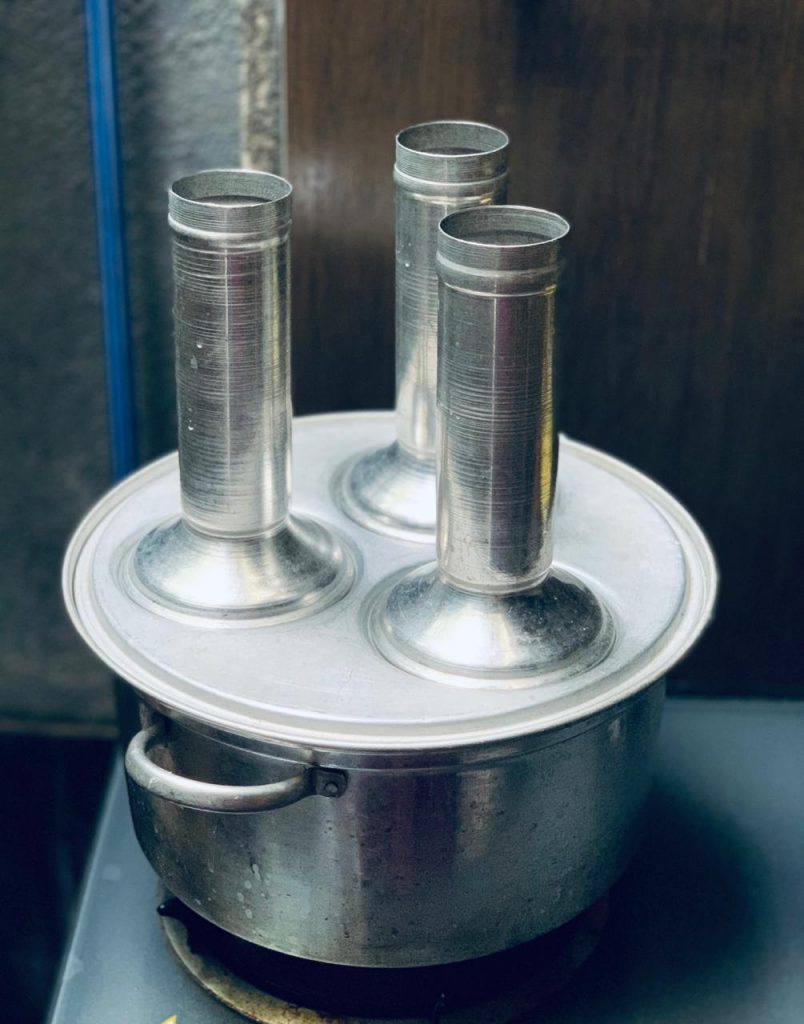
Make sure the pittu maker is ready and heating with water once you have finished with making the mani pittu mixture
At this point you could also add in one cup freshly grated coconut to the mixture before filling in the mani pittu mould but today I decided to skip this step.You could definitely do this extra step to make it special !!!
My dad got this Pittu Maker for me so I don’t really know an exact store name or address but I have seen this particular one in many online stores.Any pittu maker would work fine for making the mani pittu.If at all you don’t even have the regular one,you could place a muslin cloth over the steamer so the mixture won’t stick and just spread it out and steam till it’s done.It’s as easy as that !!! Don’t worry ??? nothing is impossible until you don’t try
Anyway once you place the mani pittu mixture into the pittu maker you will notice the steam will pass thru the bottom and come out the other end after a few minutes.When that happens you close the top and leave it on for 3-4 minutes and your mani pittu is cooked…
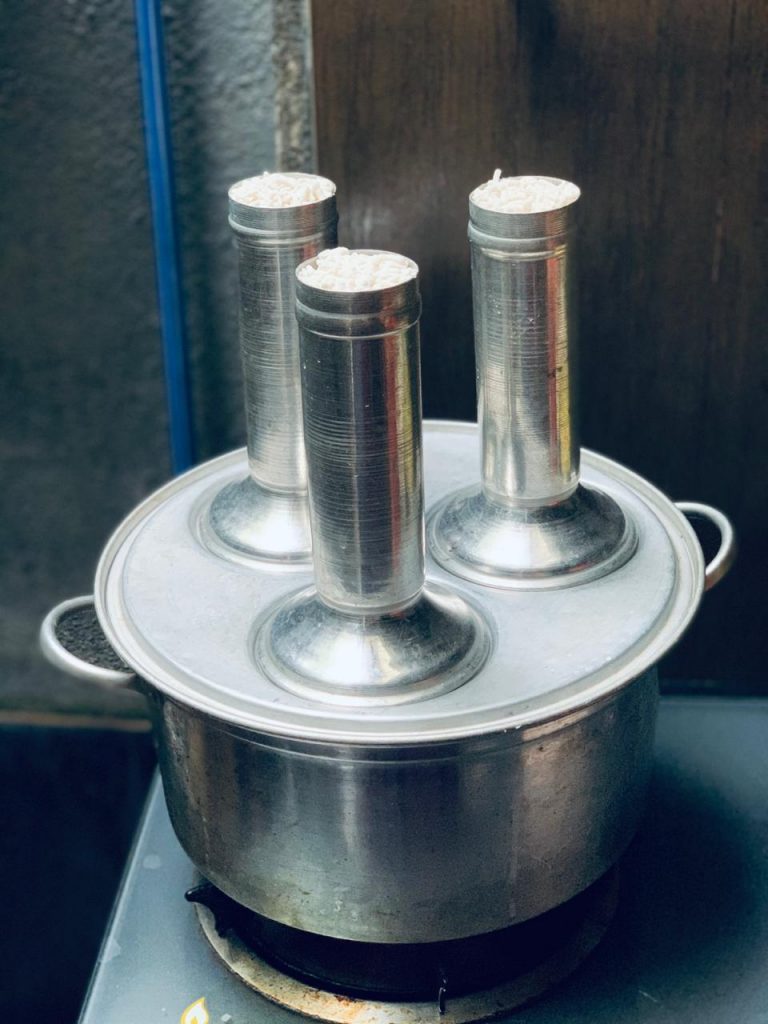
Moment of truth !!!
Small tip : Drizzle some fresh coconut milk into the pittu mould just before you push the the piping hot mani pittu on the serving plate or food warmer.This little tip helps to stop the cooked mani pittu from drying out as it cools…Proves The Best Mani Pittu you will ever try I promise !!!
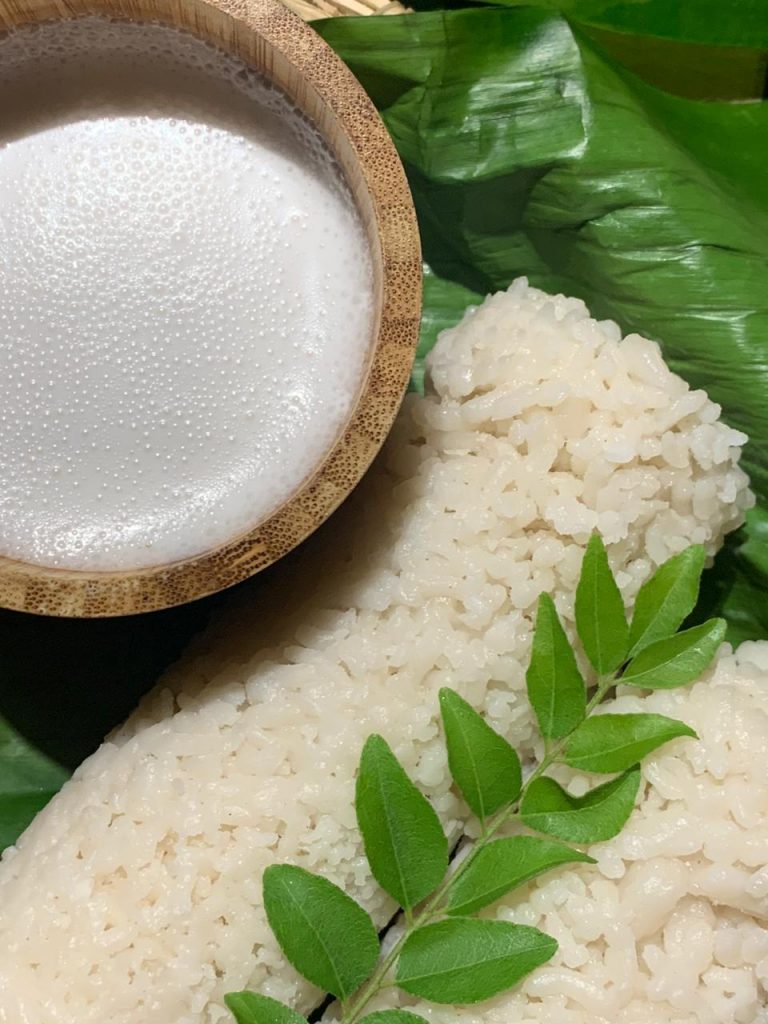
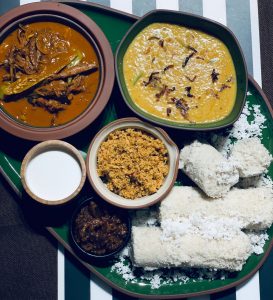
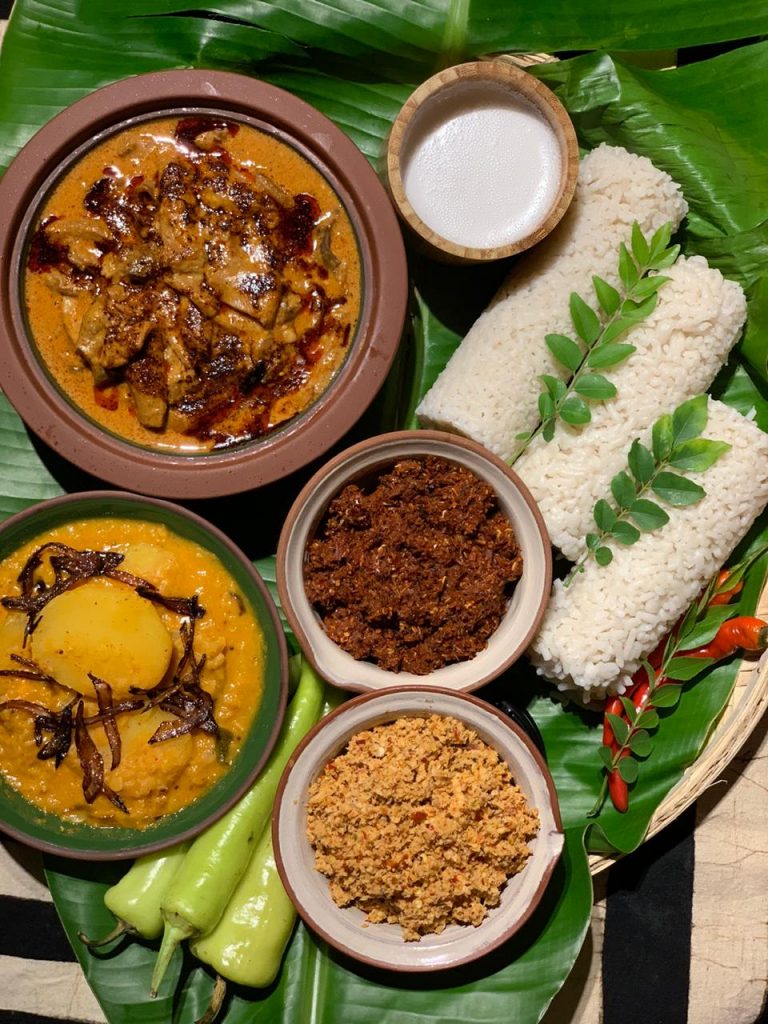
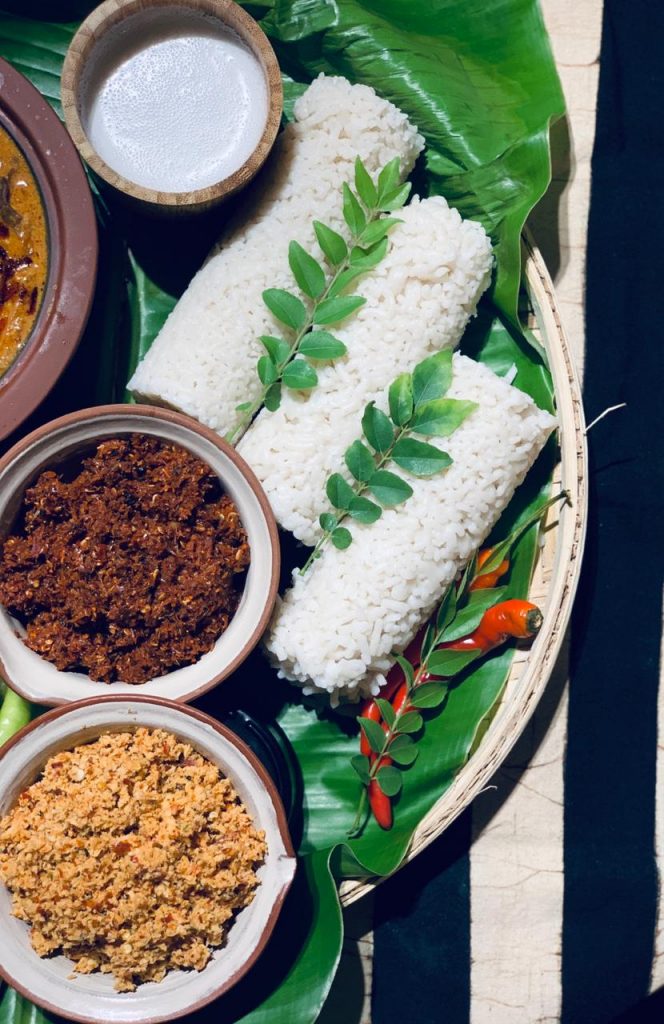
Ideally the cooked mani pittu is wrapped in lunch sheets and stored to be used when needed.But if you prefer to skip the plastic you can just serve them on your platter and enjoy warm with your favorite condiments
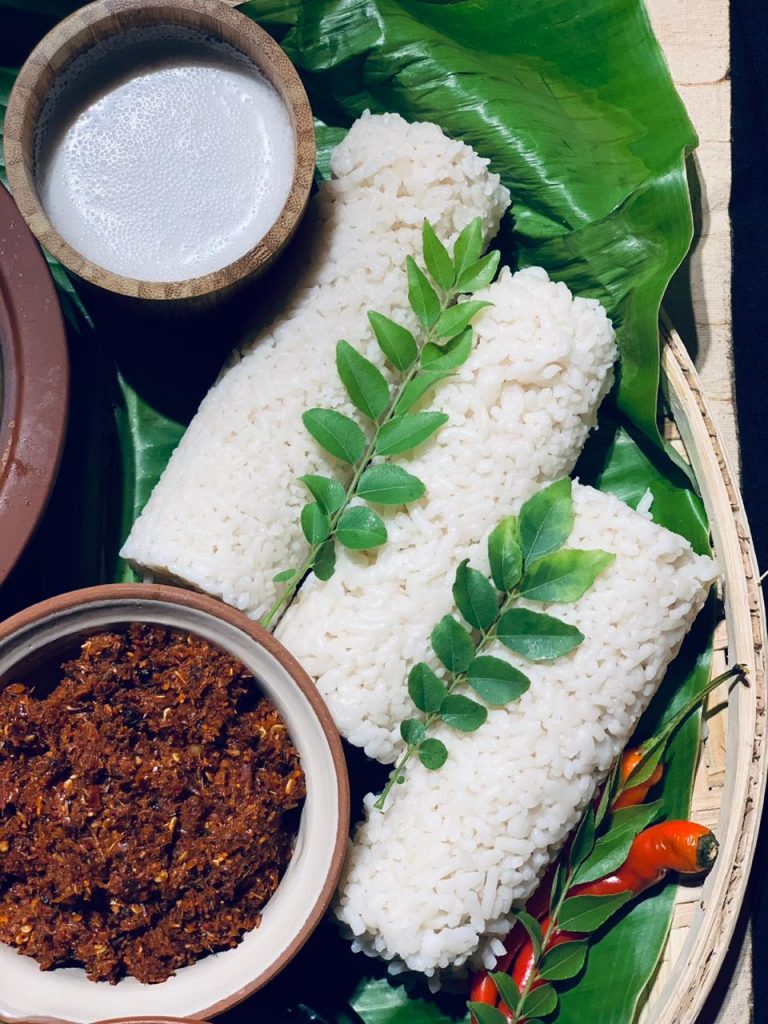
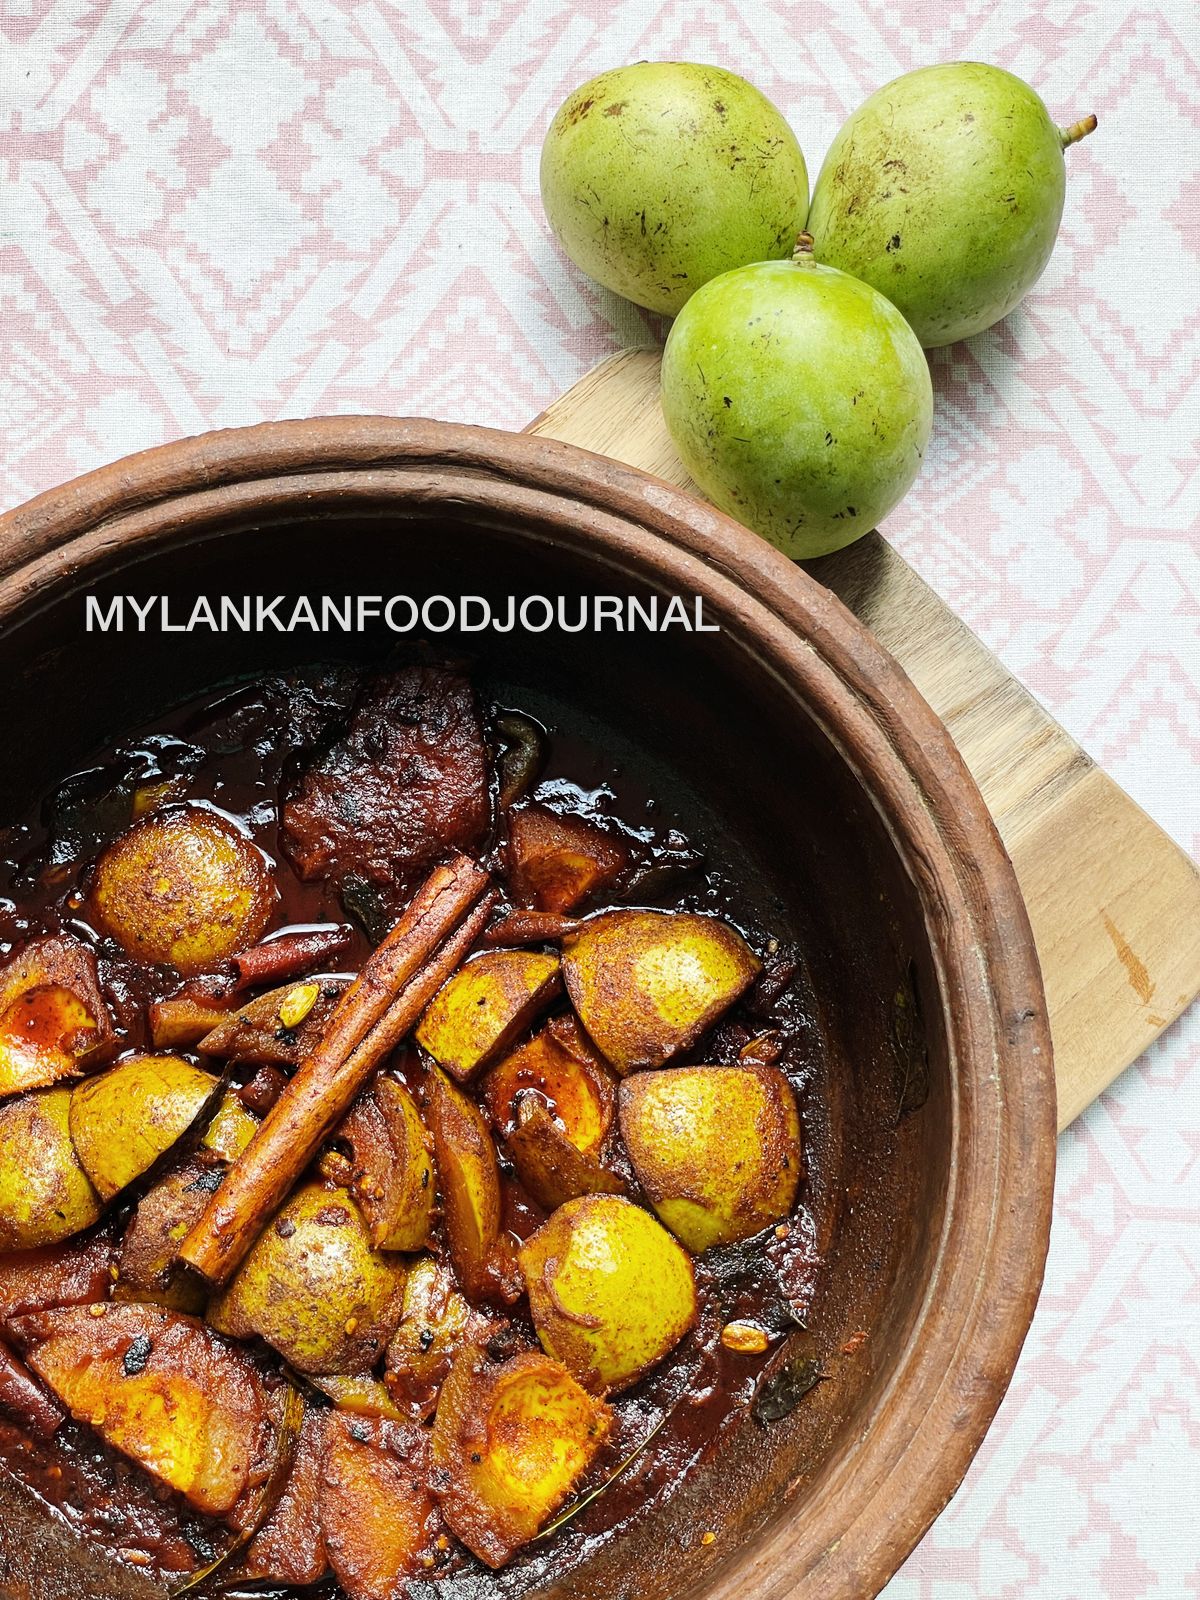
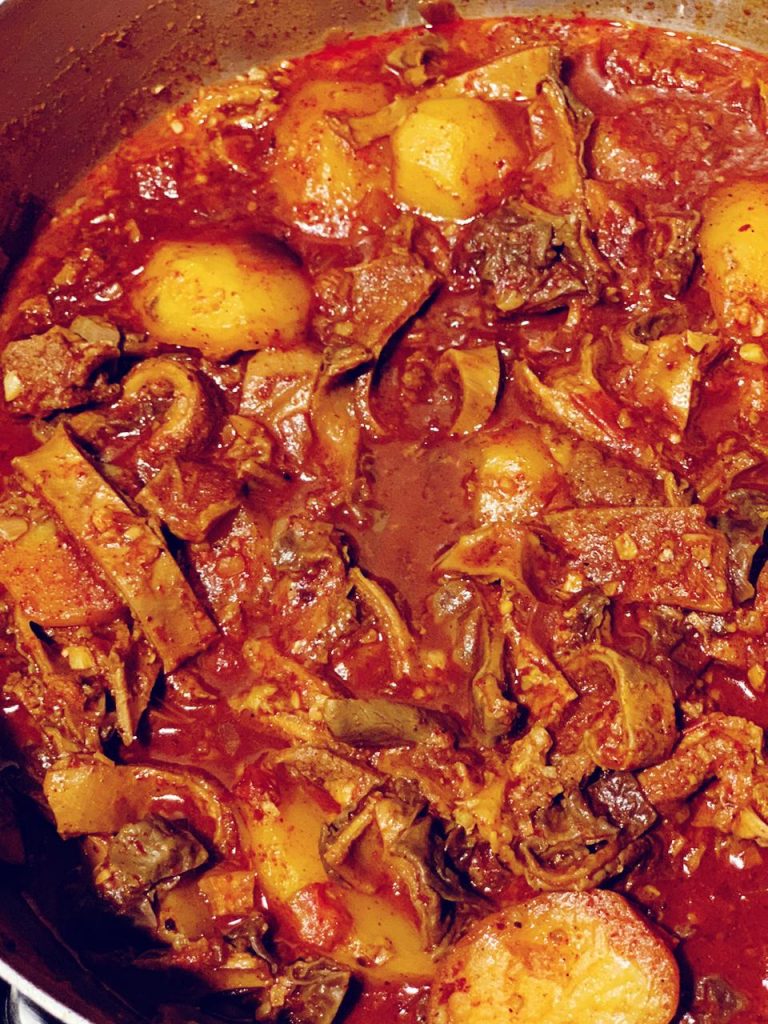
We always have our Mani Pittu with Spicy Tripe Curry and Katta Sambol
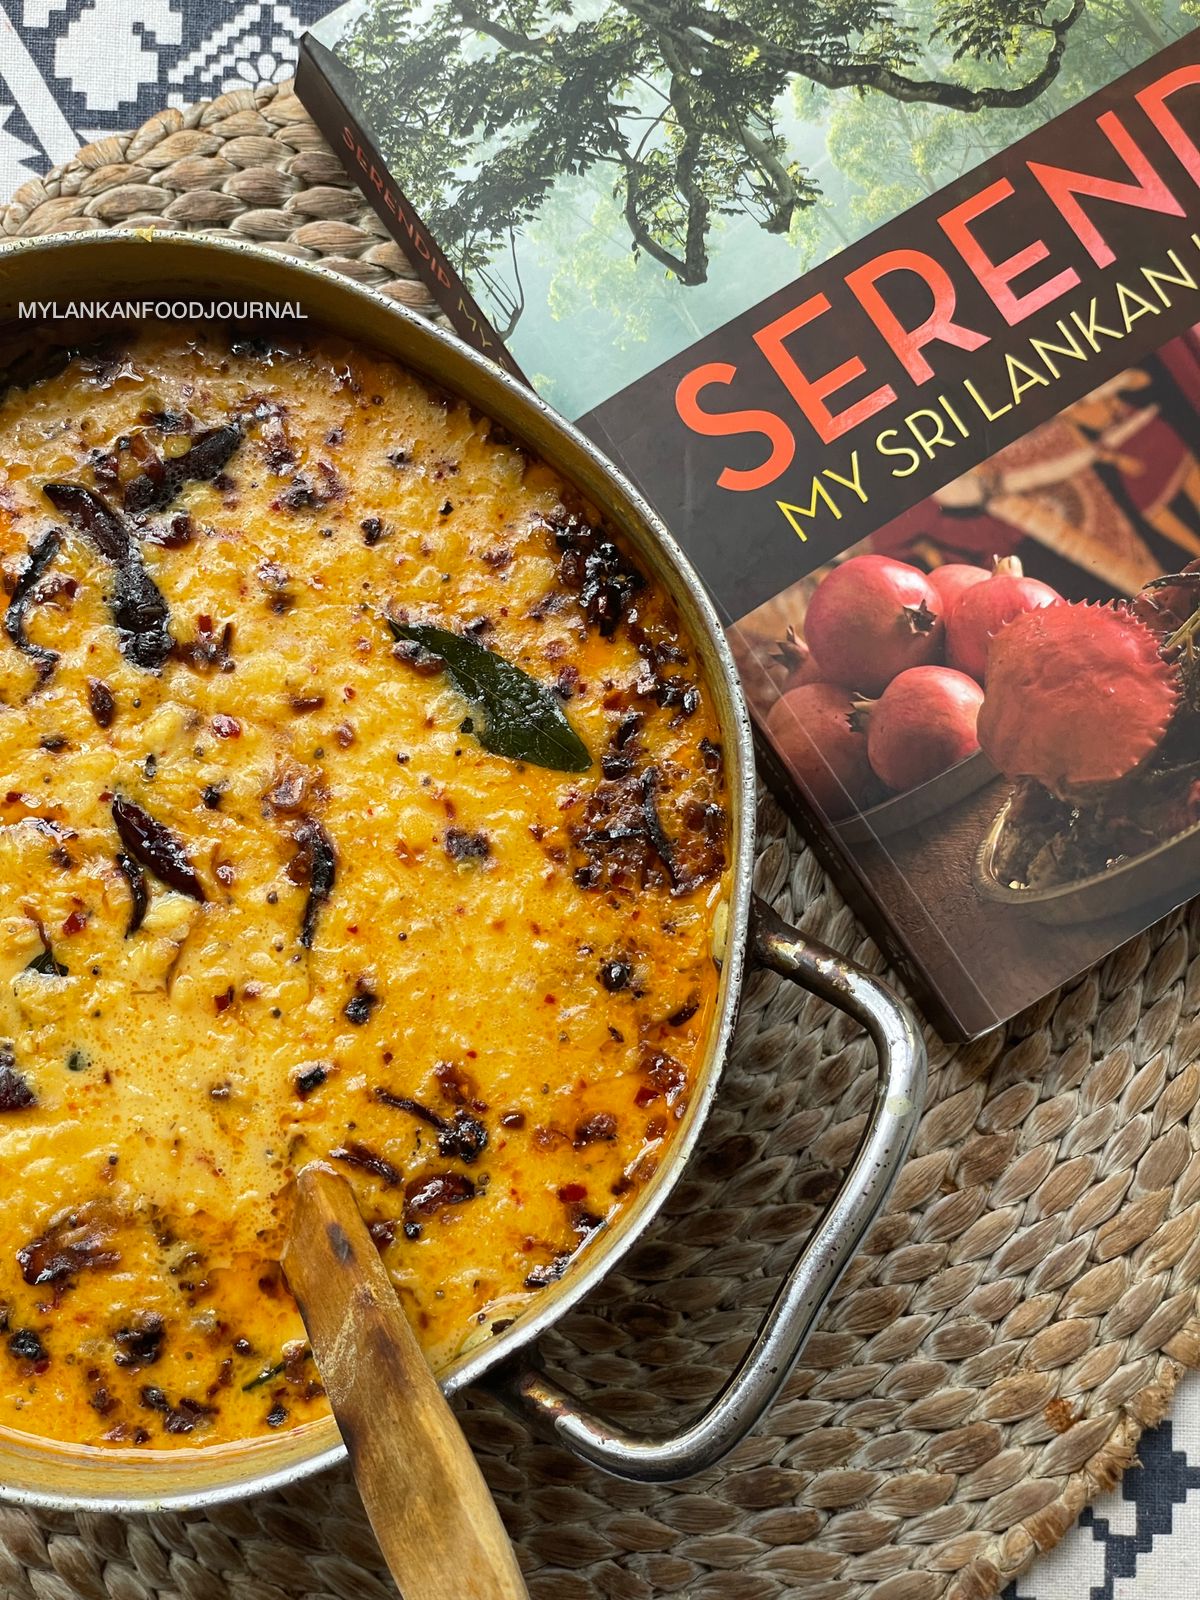
Coconut Milk and Coconut Sambol if we are feeling abit extra !!! So Delicious
For the sweeter version we have it with coconut milk and Kithul Jaggery…Yummm
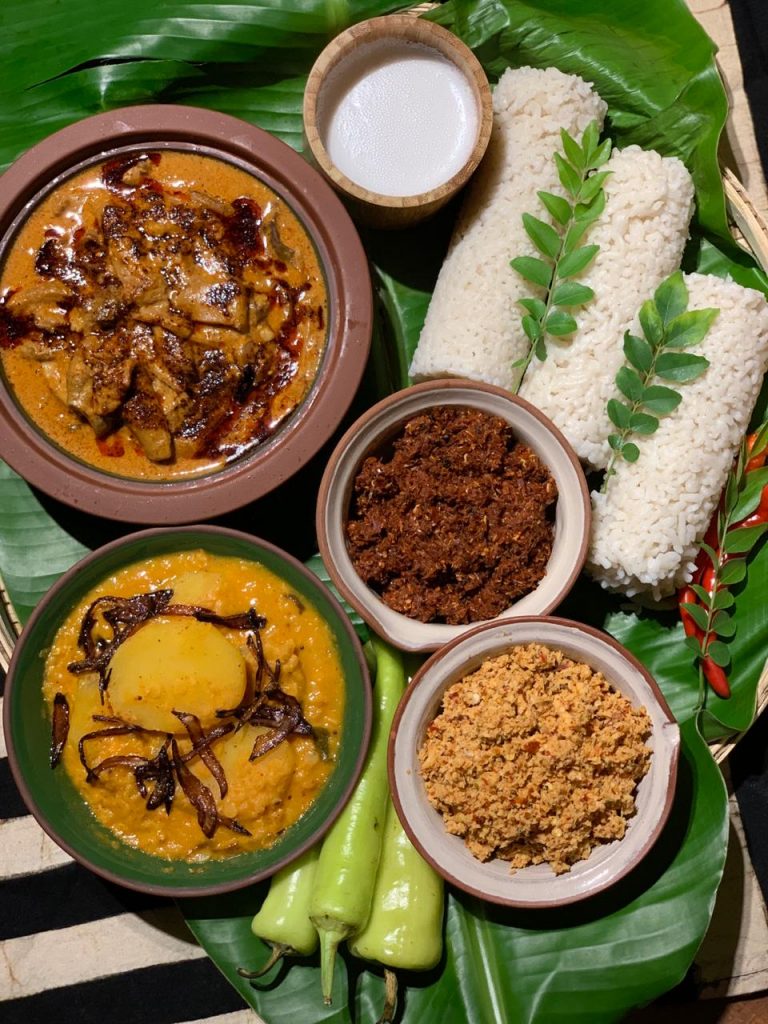
If Tripe Curry is not your thing you can definitely have it with any other kind of Meat,Seafood or Soya Meat Dish
I have a step by step recipe for The Tripe Curry
Link is attached below
Pol Sambol
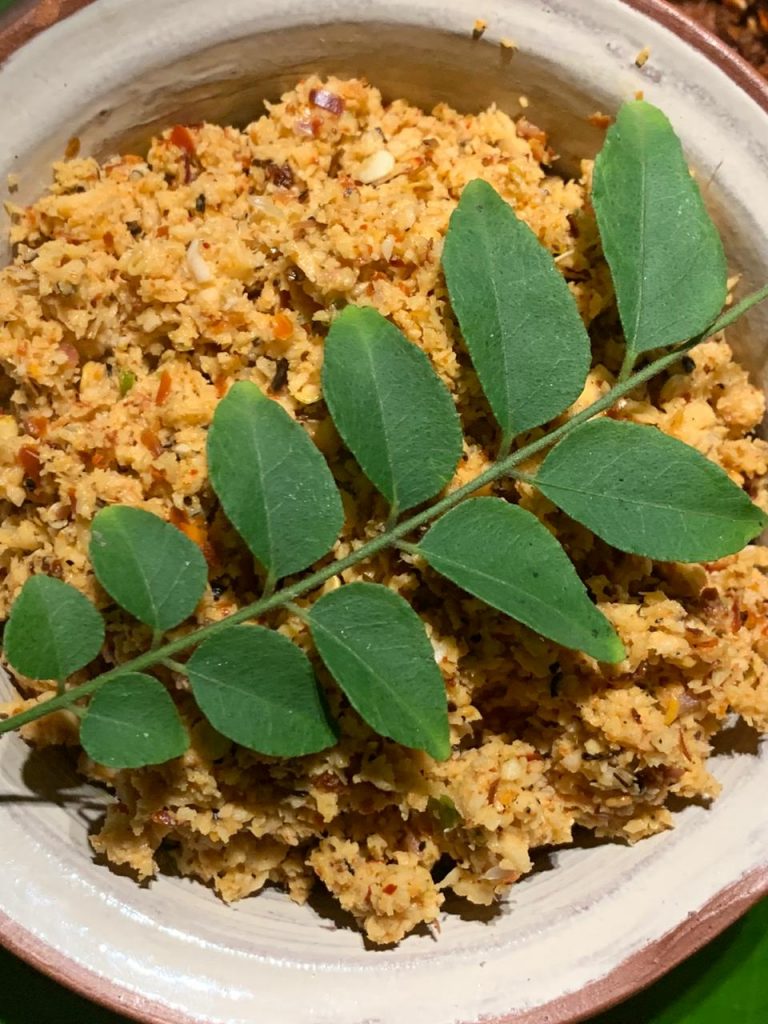
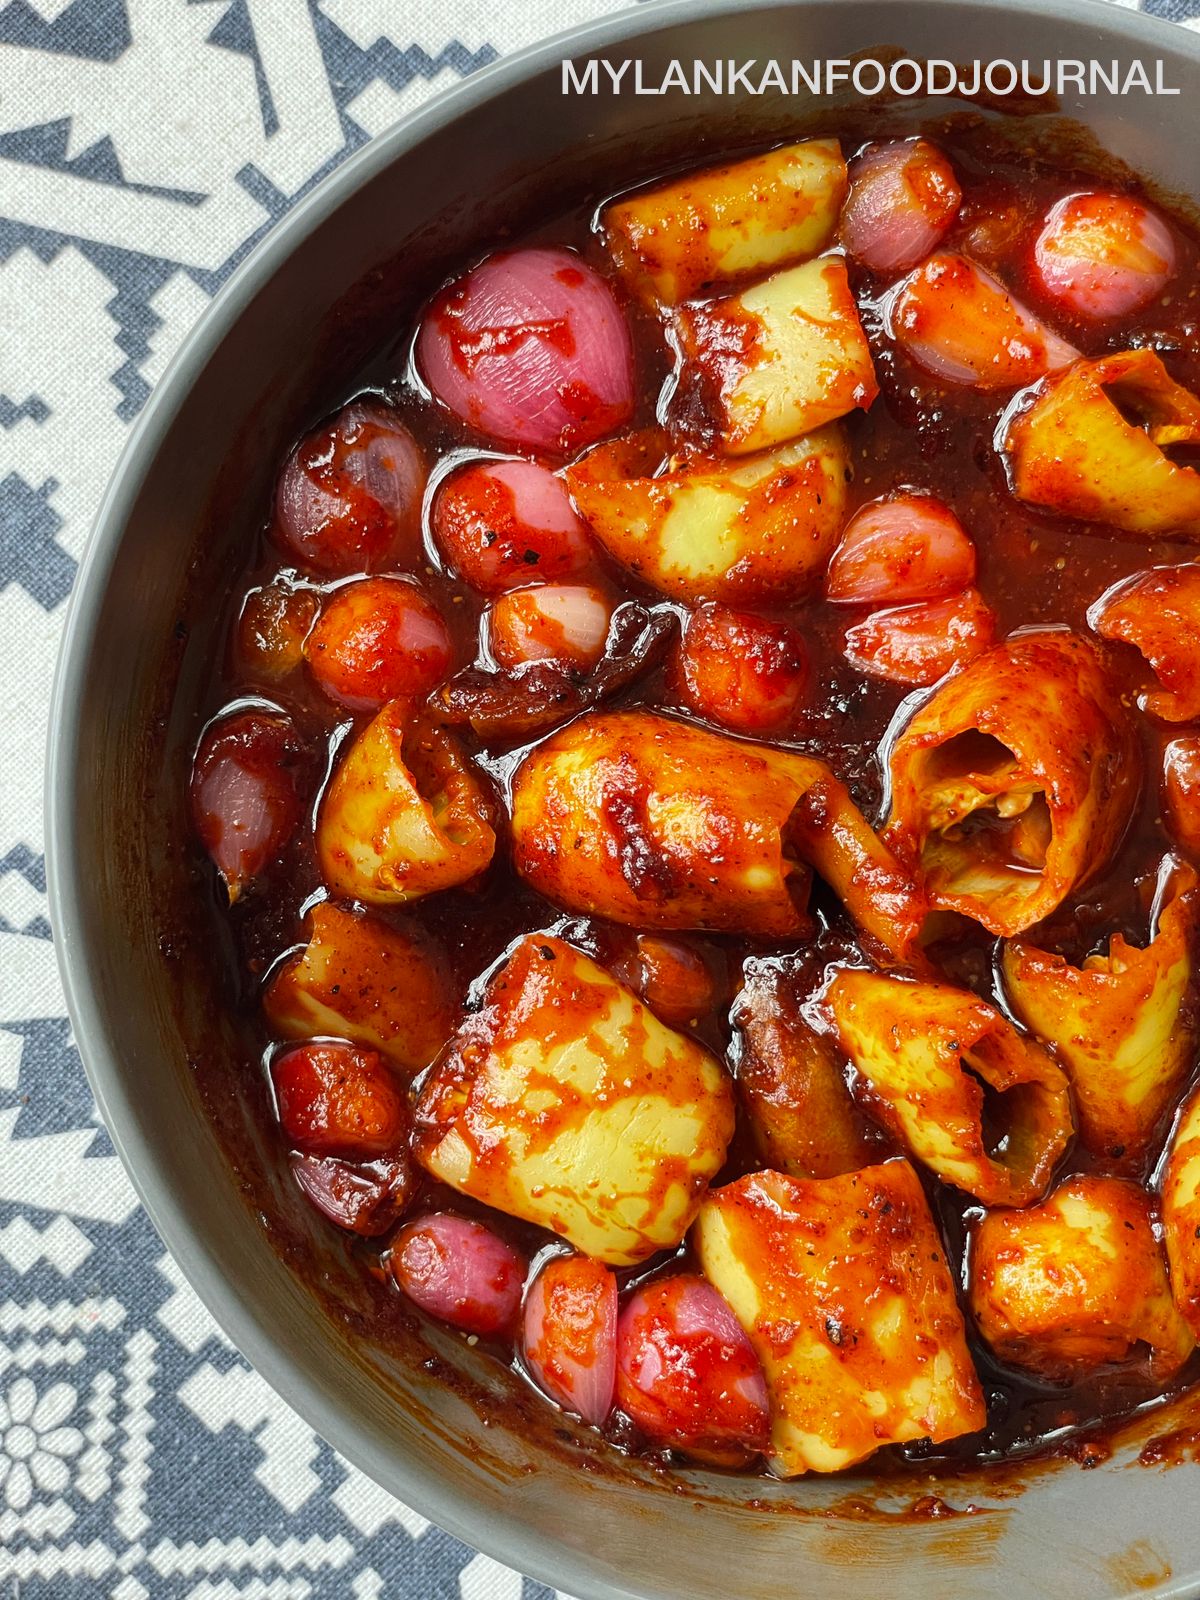
Katta Sambol
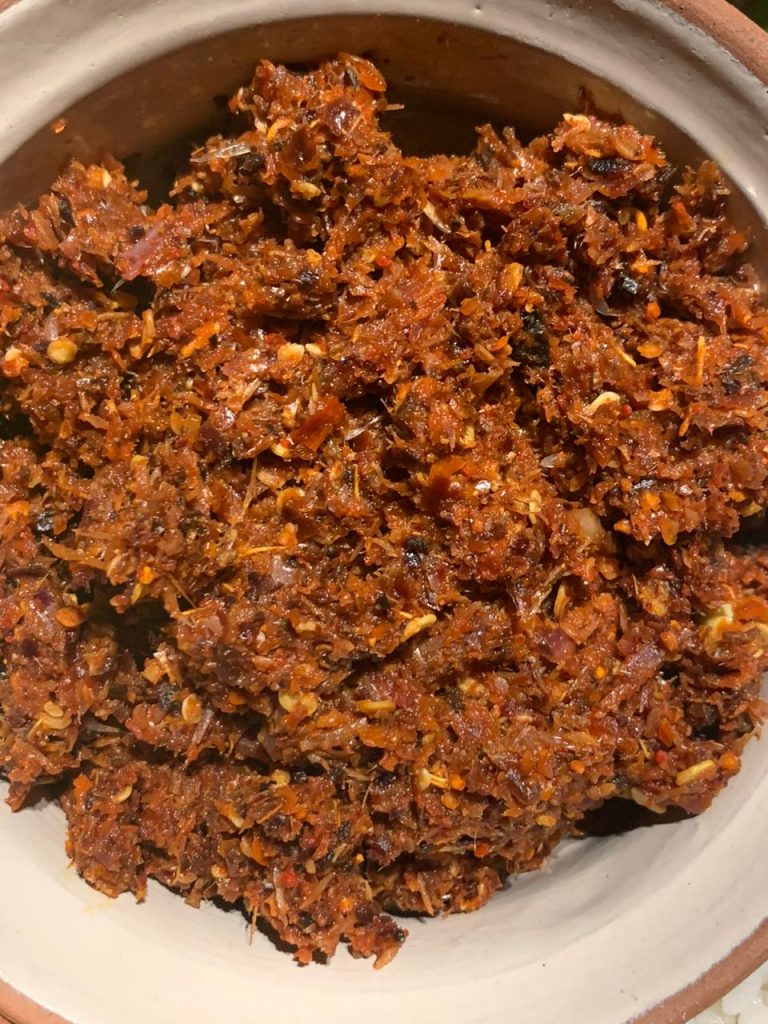
You will find the recipe to Pol Sambol and Katta Sambol in the next few posts
Link is attached below
Would love to see your remakes on this Deliciousness.Be sure to tag me or send me a screenshot if your account is private.So I can re share it in my stories
Stay Safe ? Stay Home ? Stay Sane ? Be Responsible
Much Love ? Nuzrath